cookiecutter集成了比较多的配置内容,帮助我们更快的生成项目。使用方法
项目初始化
首先确定自己的项目在virtualenv环境下,所有的安装在virtualenv环境下配置
#1. 安装cookiecutter
$ pip install "cookiecutter>=1.4.0"
#2. 安装cookiecutter-django ,完成后会输入一系列的配置内容,根据这些配置来初始化项目。

$ cookiecutter https://github.com/pydanny/cookiecutter-django

#如果已经安装可以使用cookiecutter cookiecutter-django
Cloning into 'cookiecutter-django'...
remote: Counting objects: 550, done.
remote: Compressing objects: 100% (310/310), done.
remote: Total 550 (delta 283), reused 479 (delta 222)
Receiving objects: 100% (550/550), 127.66 KiB | 58 KiB/s, done.
Resolving deltas: 100% (283/283), done.
project_name [Project Name]: Reddit Clone
project_slug [reddit_clone]: reddit
author_name [Daniel Roy Greenfeld]: Daniel Greenfeld
email [you@example.com]: pydanny@gmail.com
description [Behold My Awesome Project!]: A reddit clone.
domain_name [example.com]: myreddit.com
version [0.1.0]: 0.0.1
timezone [UTC]: America/Los_Angeles
use_whitenoise [n]: n
use_celery [n]: y
use_mailhog [n]: n
use_sentry [n]: y
use_pycharm [n]: y
windows [n]: n
use_docker [n]: n
use_heroku [n]: y
use_compressor [n]: y
Select postgresql_version:
1 - 11.3
2 - 10.8
3 - 9.6
4 - 9.5
5 - 9.4
Choose from 1, 2, 3, 4, 5 [1]: 1
Select js_task_runner:
1 - None
2 - Gulp
Choose from 1, 2 [1]: 1
Select cloud_provider:
1 - AWS
2 - GCP
3 - None
Choose from 1, 2, 3 [1]: 1
custom_bootstrap_compilation [n]: n
Select open_source_license:
1 - MIT
2 - BSD
3 - GPLv3
4 - Apache Software License 2.0
5 - Not open source
Choose from 1, 2, 3, 4, 5 [1]: 1
keep_local_envs_in_vcs [y]: y
debug[n]: n
初始化完成后安装依赖文件
$ pip install requirements/local.txt
输出数据库配置文件
$export DATABASE_URL=postgres://postgres:'*******'@***.***.***.***:5432/dribbble
export DATABASE_URL=postgres://postgres:Stella1986214@121.41.8.92:5432/dribbble
export DATABASE_URL=postgres://postgres:Stella1986214@121.41.8.92:5432/cookiegulp
生成数据库
#生成数据
$ python manage.py migrate
#创建超级用户
$ python manage.py createsuperuser
#启动服务器
$ python manage.py runserver
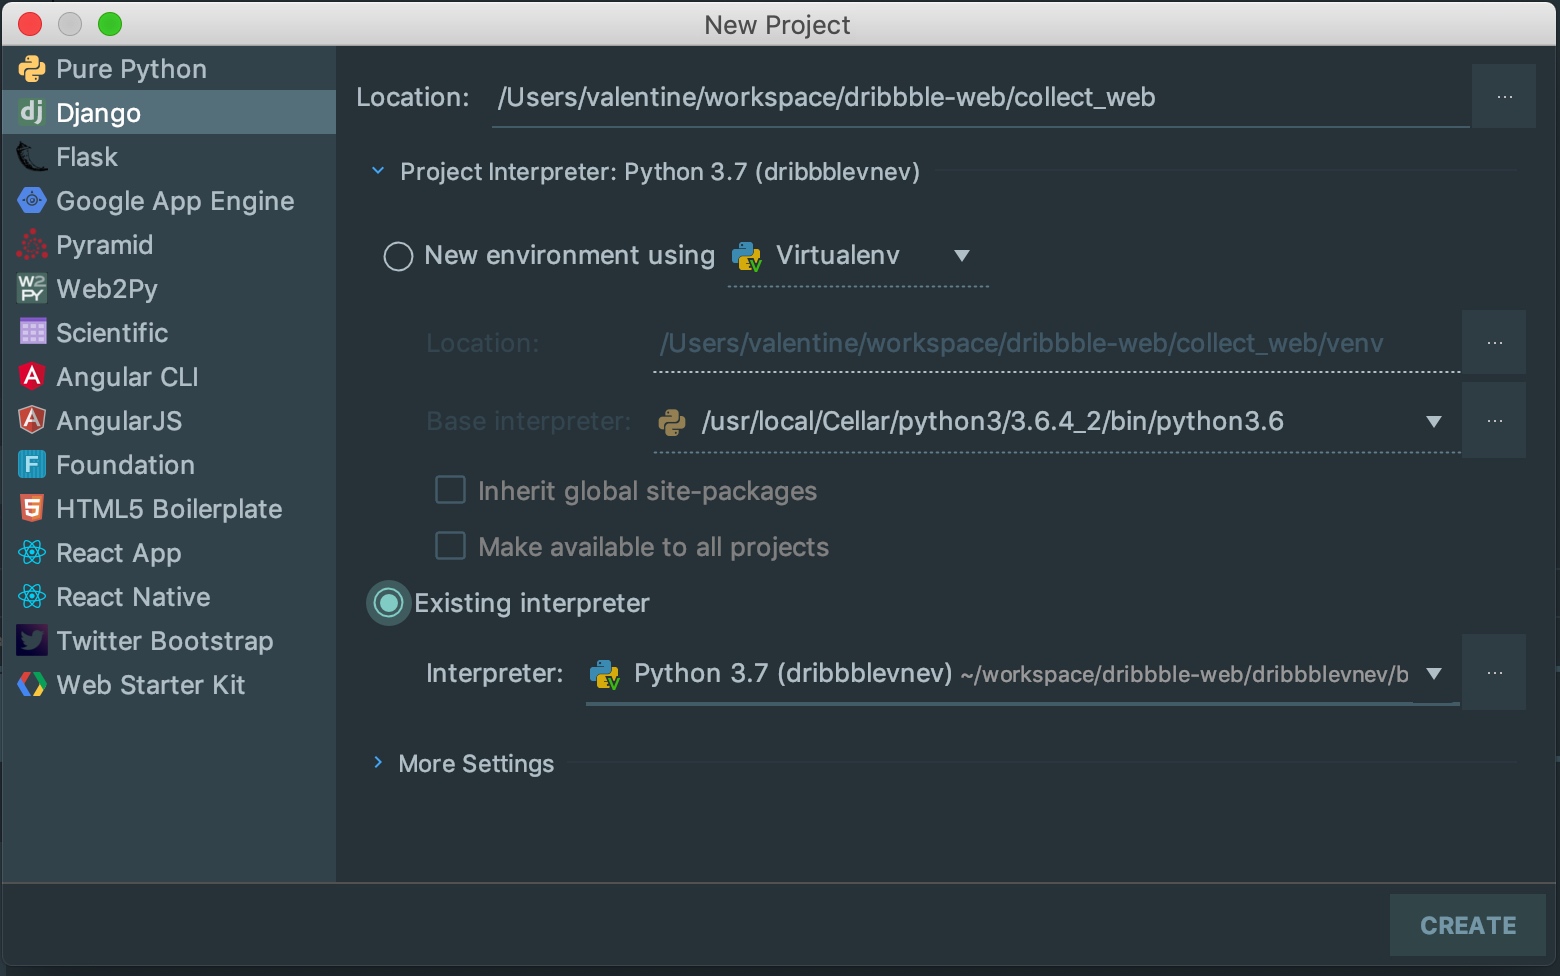
导入pycharm
创建一个Django项目,注意下面的virtualenv选择创建好的env,保证虚拟环境的配置
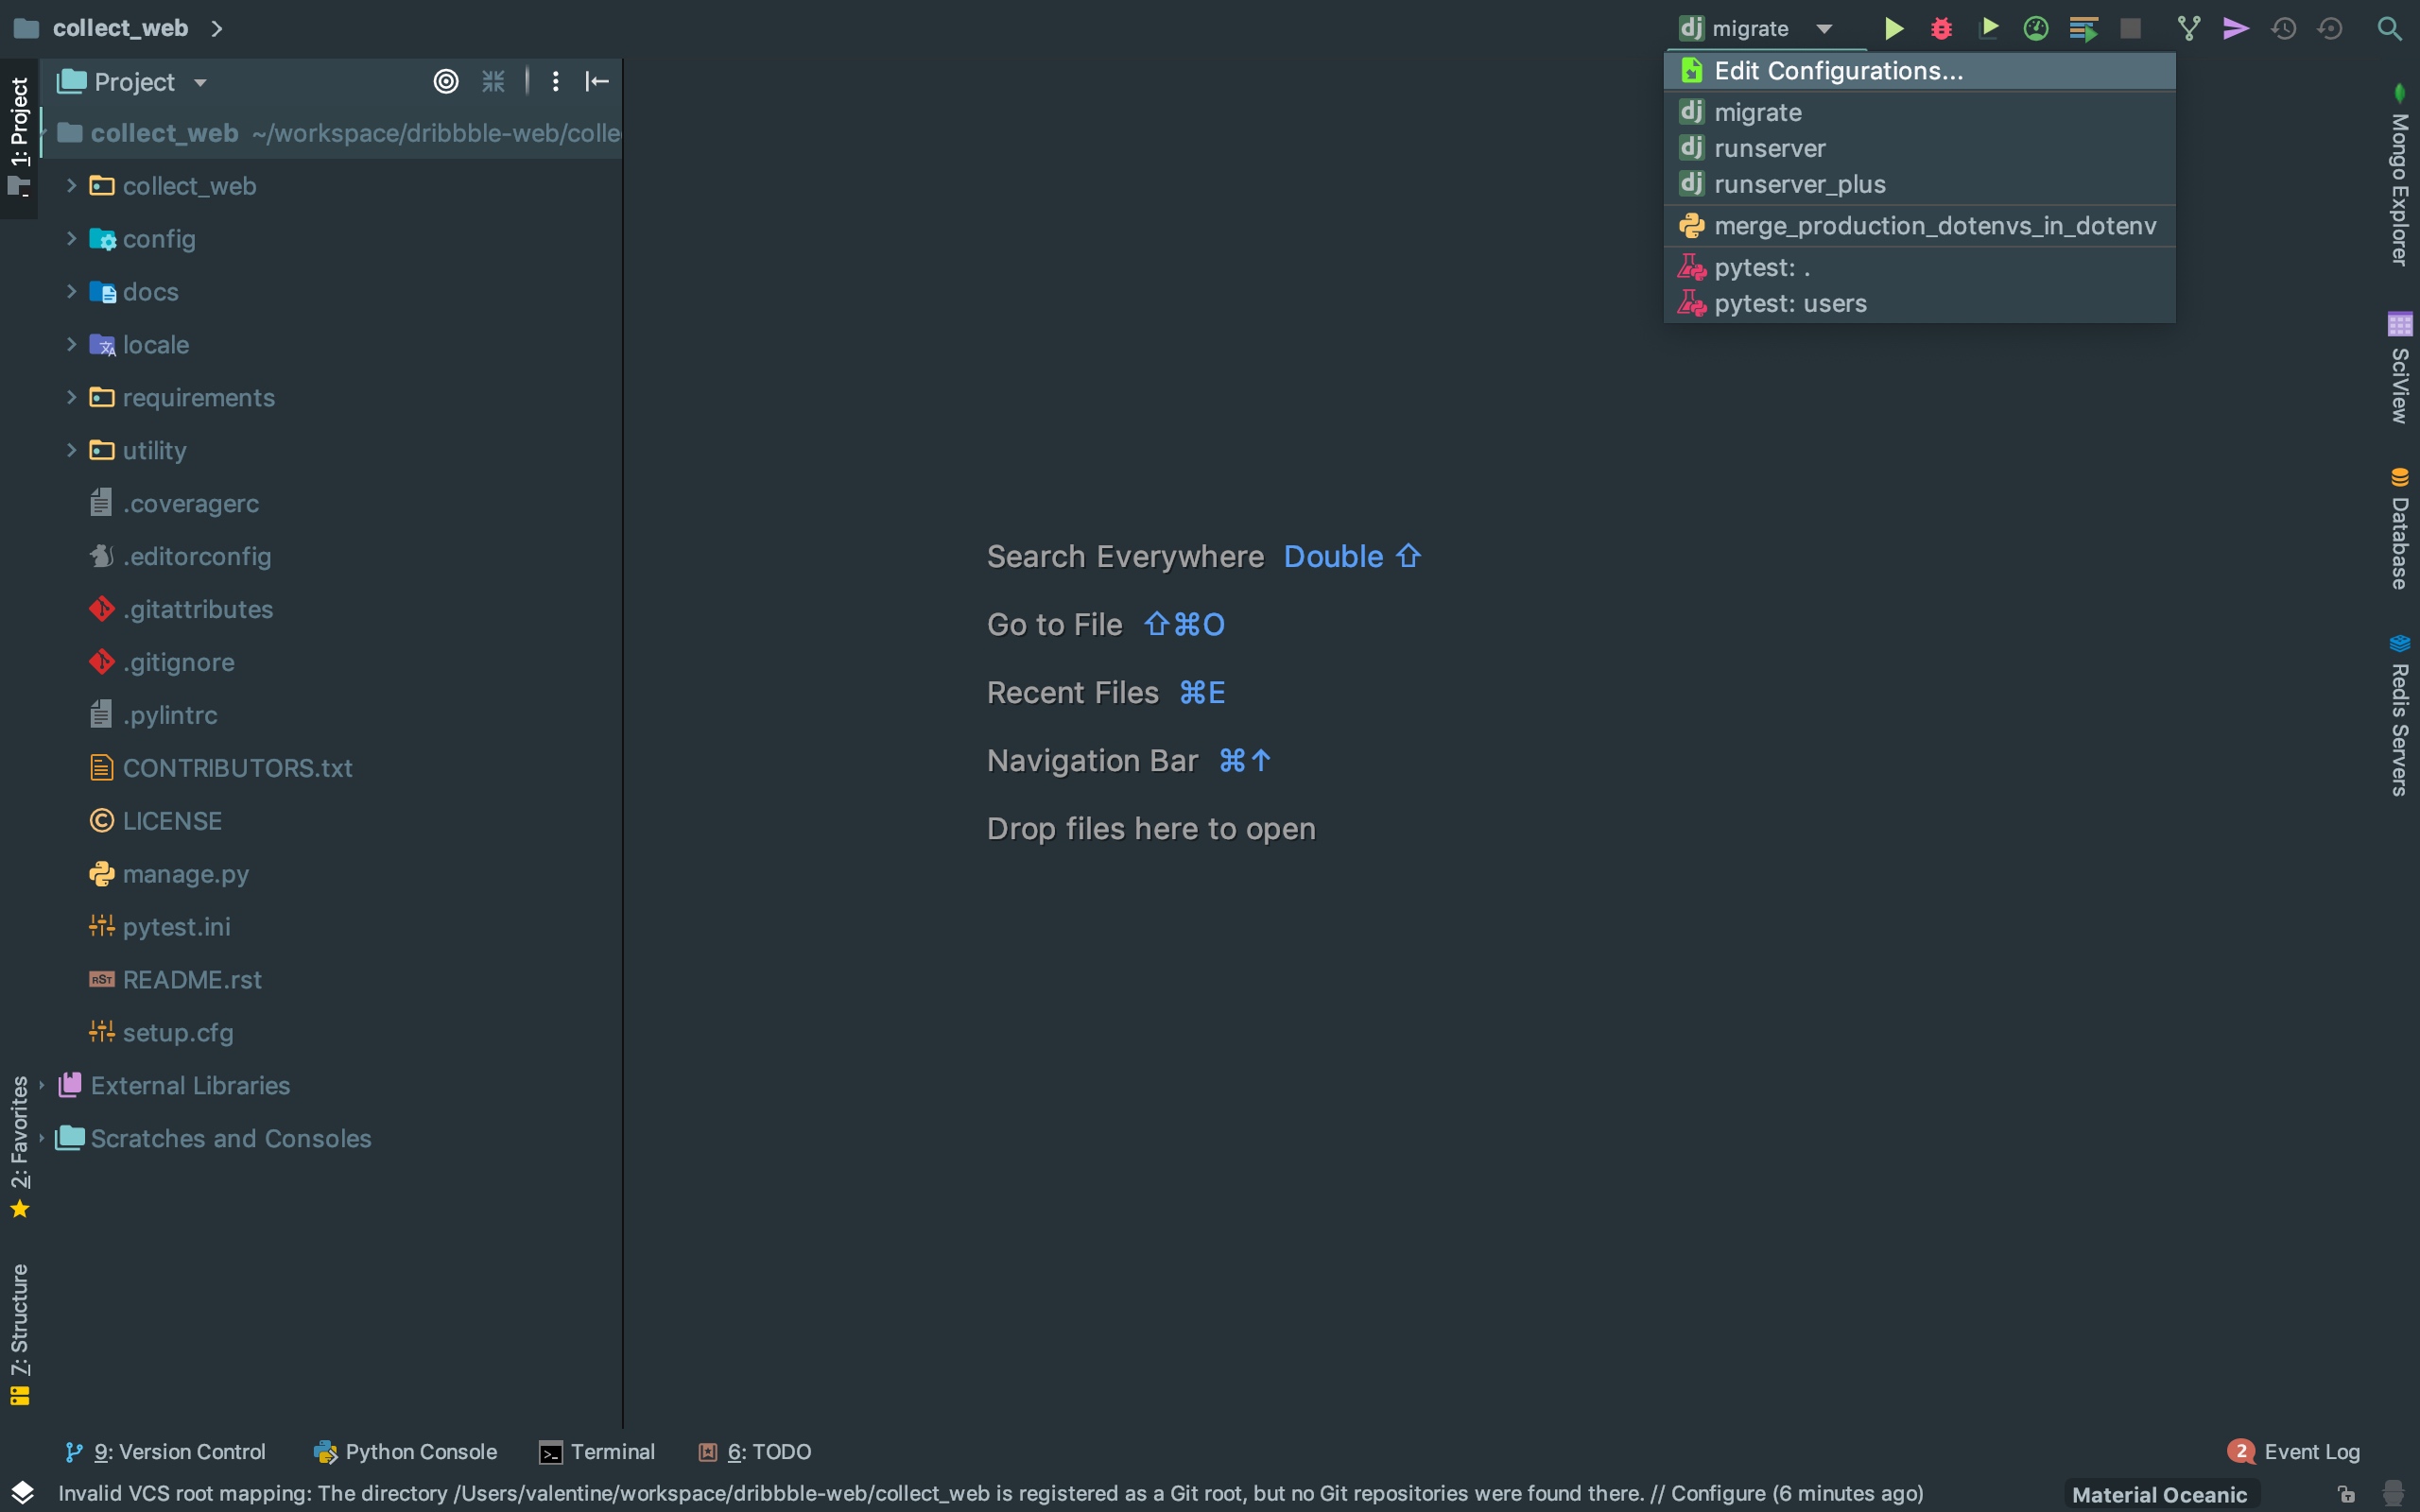
完成后可以看到比较完整的项目配置
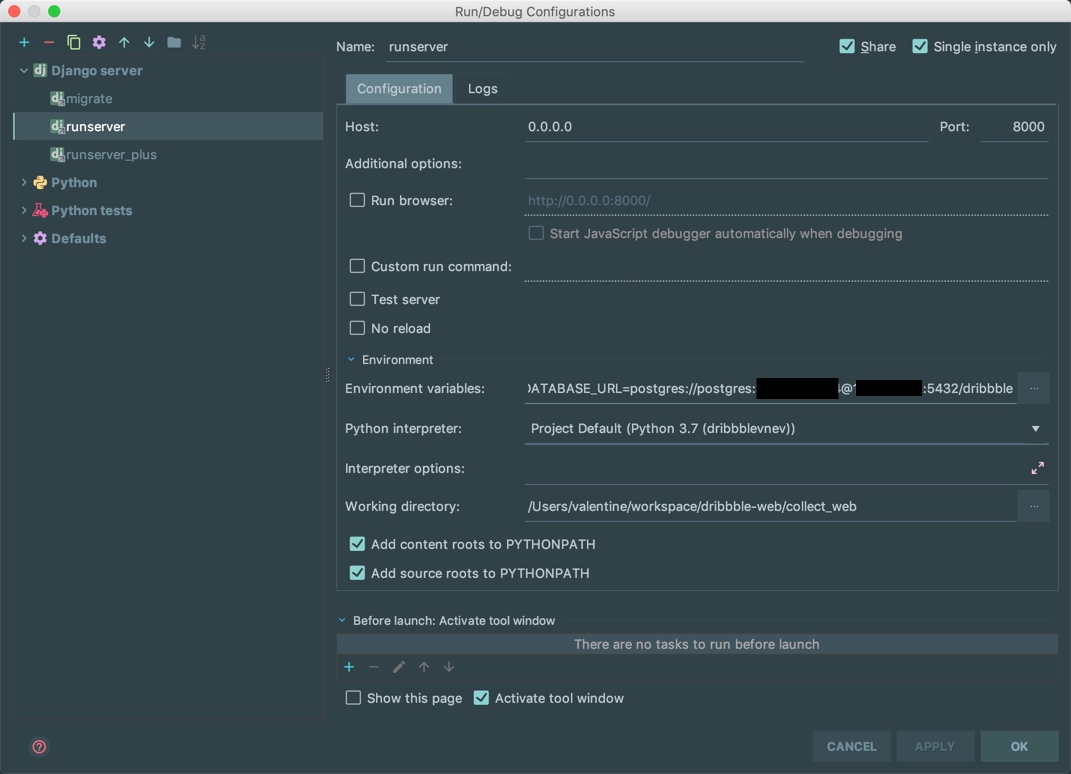
如果需要使用右上角的run和debug来运行项目,那么需要配置相应的export databaseurl
配置git导入gogs
首先在gogs上创建项目
在Terminal中初始化即可。
创建APP
生成命令:
\( django-admin.py startproject mysite
\) cd mysite
$ django-admin.py startapp my_app